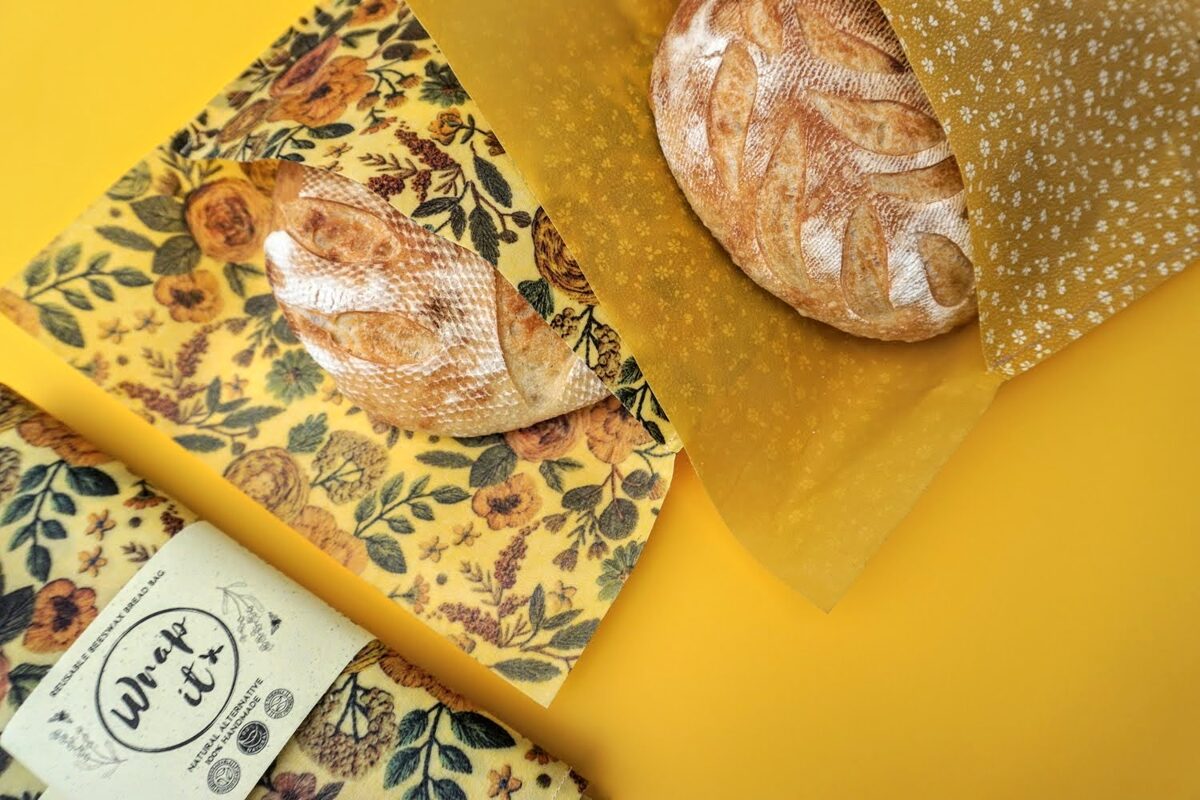
BEESWAX BREAD BAG
Hi, guys!
Did you also know we make beeswax bread bags? And we truly believe this is one of the kind of product, that should be in every household. They are made out of the same material as beeswax wraps, only they are sewn. They are slightly easier to use, but bread stays just as fresh and crispy. You can also wash them with cold water.
We started with the small snack bag, which is especially good for small bread leftovers, or sandwiches, hiking, all the veggies and fresh greens. Now also available in XL size.
Then came our classical bread bag - made especially for regular-size bread loaf, but in our household, we use it for fresh greens.
And our newest product is XL bread bag which is made for extra-large bread loaves, and of course lots and lots of fresh greens.
So which one will you choose?
5 WAYS TO USE YOUR BEESWAX WRAPS

2. MAKE LITTLE POUCH - see our post about making beeswax wrap pouch step by step here.

3. COVER GLASS JARS/CARAFES - Cover glass jars in case you lost the lid, cover carafes or bottles when dining outside.
4. WRAP GIFTS/FLOWERS - Yeah, sure, you can wrap flowers or any kind of gifts in beeswax wrap, and it will also be a gift!
5. WRAP SHAMPOO BAR OR SOAP WHILE TRAVELING - Well, I didn't have a box for my zero waste shampoo bar, but I did have a small beeswax wrap, and turns out it's a great match and takes almost no space!
DIY: HOW TO MAKE BEESWAX WRAPS
MAKING Beeswax wraps DIY are super easy! And you have two options how to make them. You can use a flat iron or make them in the oven.
YOU WILL NEED:
1. BEESWAX OR ALREADY MADE BEESWAX MIXTURE BLOCKS
2. JOJOBA OR COCONUT OIL (IF YOU DON'T USE READY MADE MIXTURE BLOCKS)
3. PINE RESIN (IF YOU DON'T USE READY MADE MIXTURE BLOCKS)
4. COTTON FABRIC
5. FLAT IRON OR OVEN
6. BAKING PAPER
7. SCISSORS
8. BRUSH (IF MAKING IN THE OVEN)
Making in the oven
Grate the beeswax block with your kitchen grater. Lay your chosen fabric (we suggest using 100% cotton) on baking paper and heat the oven to 150°C.
Spread the grated wax on top of your fabric and put it in the oven for about 3-5 minutes till your wax is completely melted. If you are using pine resin and jojoba oil, then sprinkle pine resin powder on your fabric and add a few drops of oil.
Take it out and if needed even the melted wax with a brush. Take it by the corners and let it dry for about 30 seconds. Voila, it's ready! P.S. You can clean your grater with hot/boiling water and a piece of old fabric or paper towel.
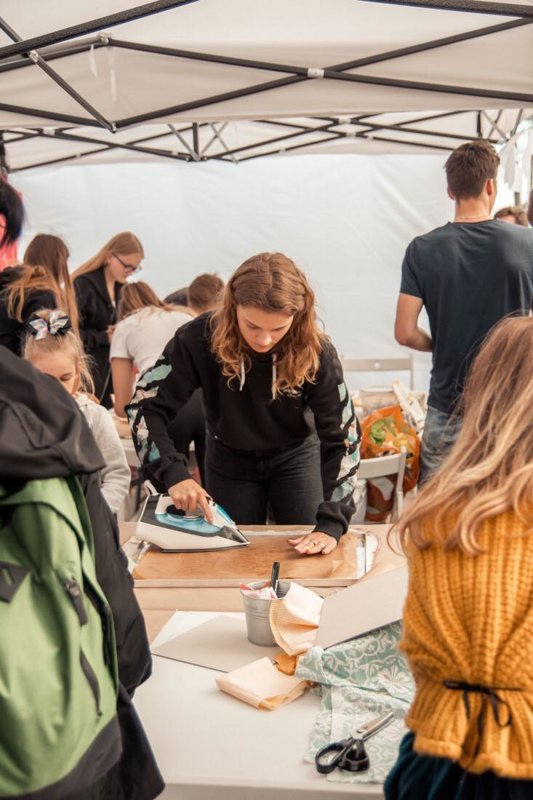
Making with a flat iron
Grate the beeswax block with your kitchen grater. If you are using pine resin and jojoba oil, then sprinkle pine resin powder on your fabric and add a few drops of oil. Lay your chosen fabric on baking paper, spread the grated wax on top of your fabric and add another baking paper on top of that.
Heat your iron to the maximum and iron over the baking paper. Let the wax completely melt underneath the paper and spread all over the wrap. Take off the upper baking paper, take the wrap by the corners and let it dry for about 30 seconds. P.S. You can clean your grater with hot/boiling water and a piece of old fabric or paper towel.
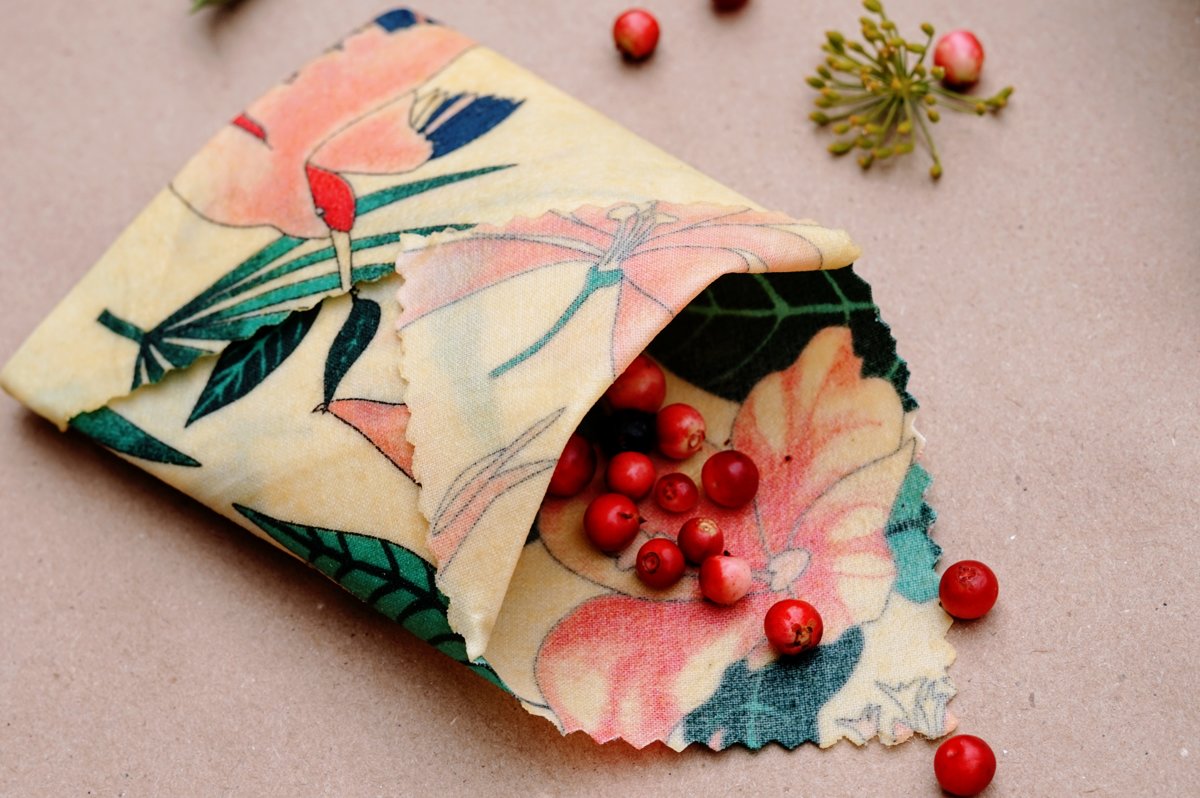
BEESWAX POUCH STEP BY STEP
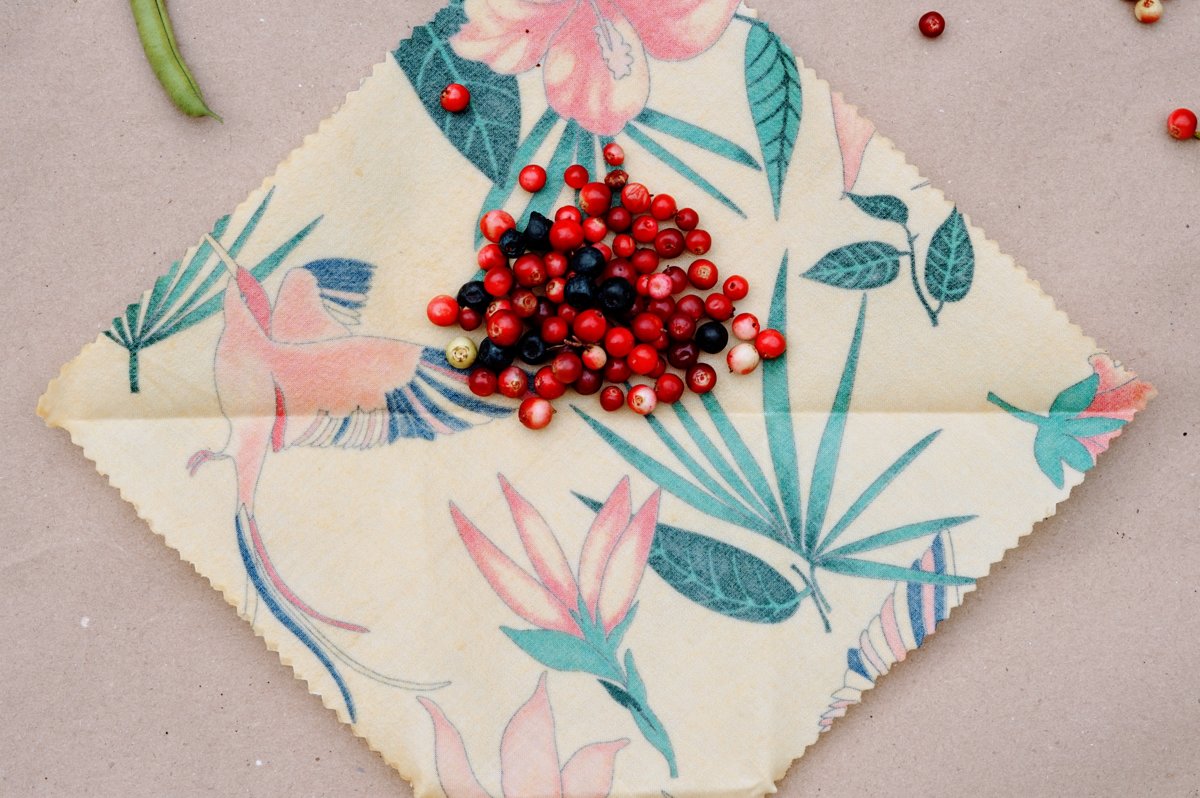
2. FOLD IT IN HALF
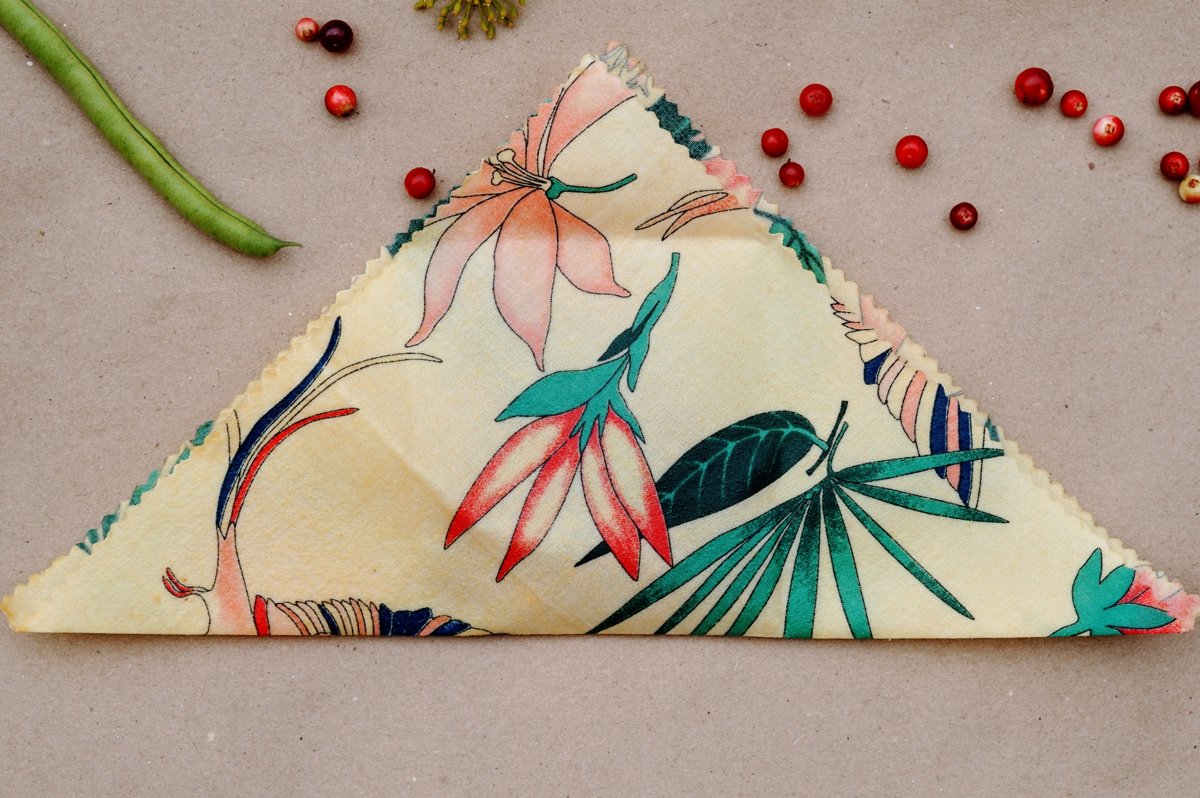
3. FOLD IN THE SIDES
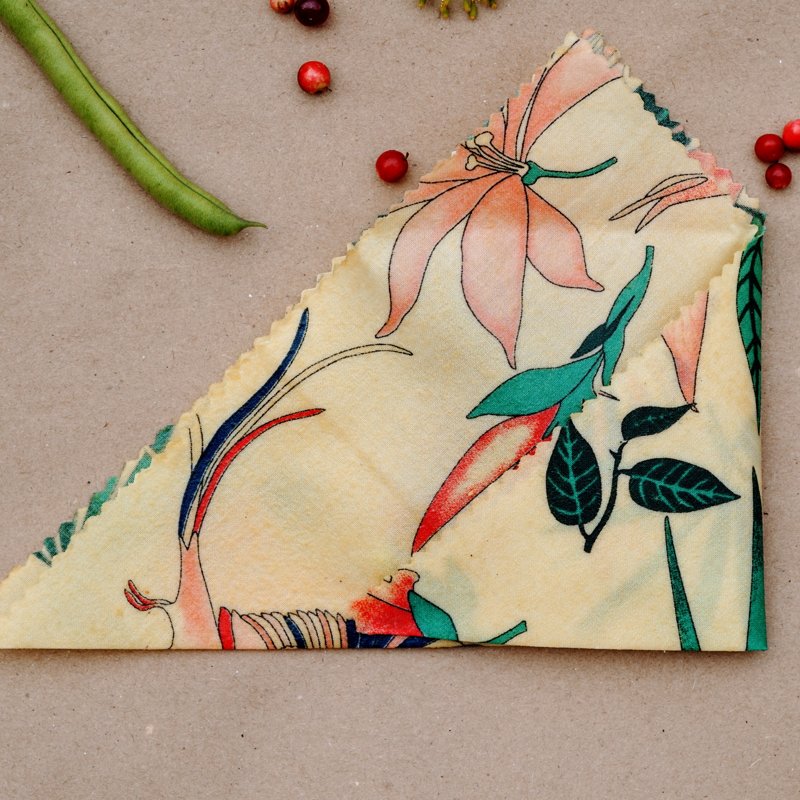
4.FOLD THE UPPER SIDE DOWN

5. READY FOR BERRIES